Dead Rails Beginner Guide: Weapons, Classes & Survival
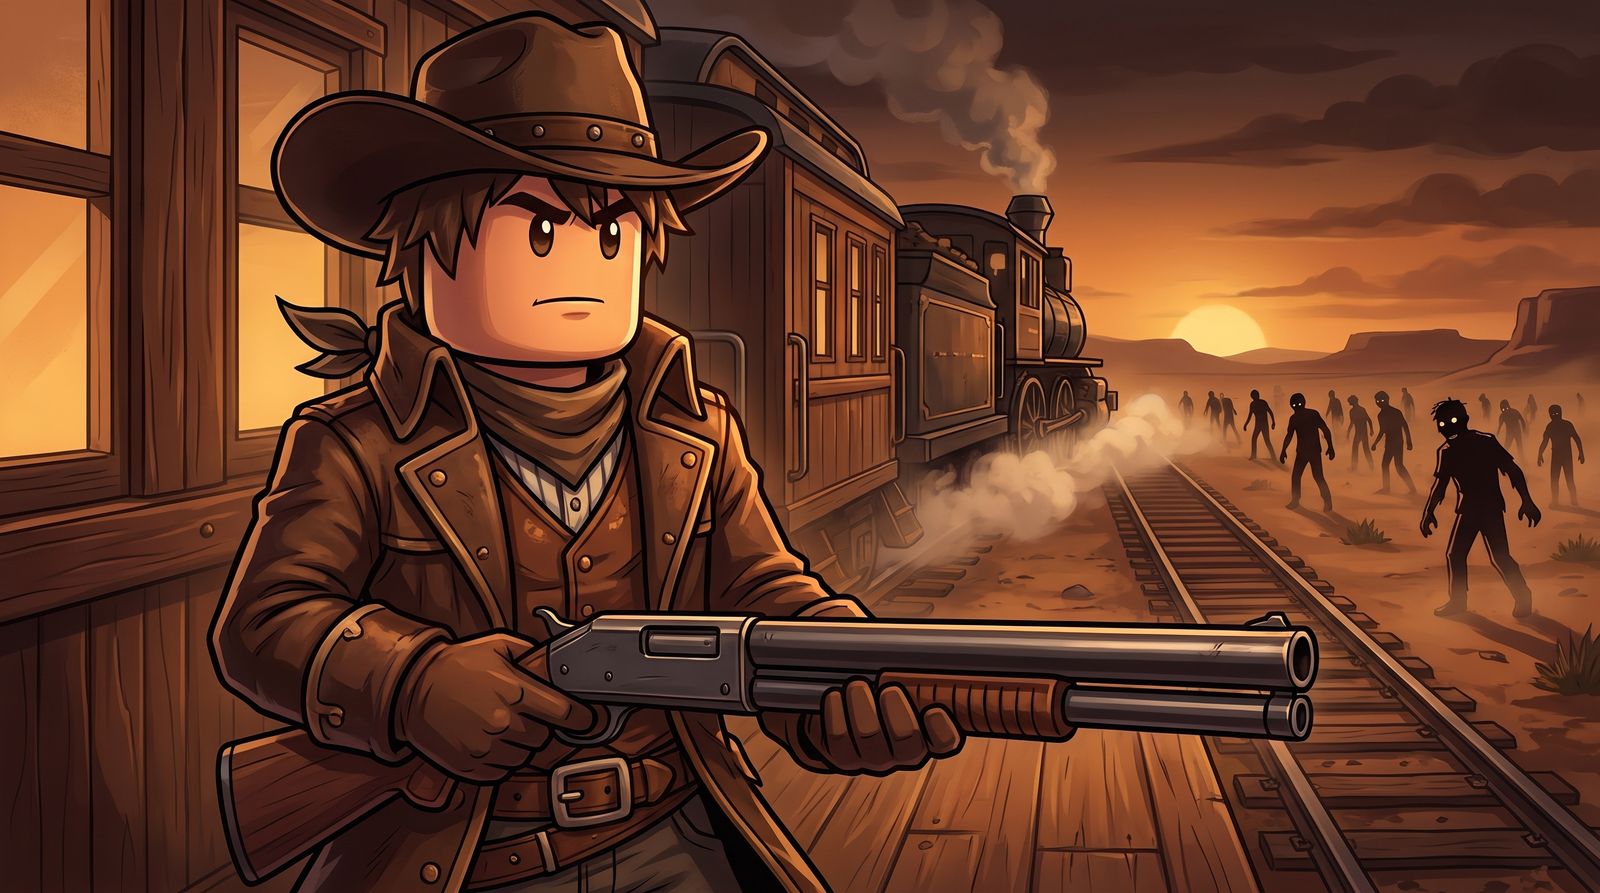
Dead Rails is one of the most brutal survival games on Roblox, and most new players never make it out of the first stretch of desert. You board a steam train in 1899, the dead are everywhere, and Mexico with its supposed cure sits 80 km down the track. Somewhere between here and there, something always goes wrong.
That is the fun of it, and also the problem. This Dead Rails beginner guide does not sugarcoat the difficulty: the game punishes careless spending, the night phase can wipe an unprepared team in minutes, and the gap between a 15 km run and a full clear usually comes down to a handful of early decisions. Below we cover exactly those decisions: how a run actually works, what to buy first, which classes are worth your Bonds, and the habits that get a crew all the way to the boss.
It is still in beta, it has pulled over 6 billion visits and a 93% positive rating, and it is genuinely one of the best co-op games on the platform once the systems click. Here is how to survive your first runs.
Tip: Sell your Gold Bar first, buy Coal so the train never stops, take the Shotgun over the Revolver, and spend every Bond you earn on a permanent class before anything else. Stay on the train at night and never walk into a town underprepared.
What Dead Rails Actually Is
Dead Rails is a co-op train-survival game from RCM Games, set in 1899 during a fictional zombie plague tearing through the American West. Up to 16 players share one steam train and one goal: travel 80 km to Mexico while fighting off zombies, outlaws, and worse. Reach the end and you take on the final boss for a full clear.
The layout is roguelike. Buildings, loot, and enemy placements are randomized every run, so no two journeys play the same. The route is broken into segments with a checkpoint roughly every 10 km, and the in-game distance badges (10 km, 20 km, 30 km) tell the real story: only a small fraction of players ever pass 20 km. Most public lobbies fall apart well before then, which is exactly why a plan matters.
The one thing that carries between runs is Bonds. Everything else resets when you die, but Bonds are permanent, and you spend them on classes and upgrades that make every future attempt easier. You can play solo or in a full squad. Solo is more controlled but far harder; a coordinated team is chaotic but much more forgiving.
Your First Five Minutes: The Opening Loop
You spawn in the Safe Zone with $20, a Shovel, and a Gold Bar sitting on the selling table in front of the train. Those first two minutes set up your whole run, so do not wander off. Work the loop in order:
- Sell the Gold Bar. Drag it onto the Trading Post sell surface for around $50. That is your real starting capital.
- Buy Coal from the General Store. Coal costs about $20 a unit and fuels the train. Grab at least three units before you leave. Running out of fuel in open desert, especially at night, is one of the most common ways new runs die.
- Grab the Newspapers. They sit near the General Store, they are free, and they double as improvised armor you can weld onto the train. Take them.
- Spend what is left. This is where beginners make their first real mistake.
You have two sensible openings:
- Combat start: put your remaining cash toward a Shotgun and ammo. It lets you clear early buildings and towns for loot instead of avoiding every fight.
- Fuel-heavy start: pour everything into Coal and play it safe, looting only the guaranteed buildings.
For most new players, the combat start is better. A weapon from minute one gives you options; a fuel-only opening forces you to dodge every fight, which starves your income. If you own the +5 Storage gamepass (79 Robux), you also get five extra inventory sack slots, which makes hauling loot and fuel between stops far less painful.
Best Weapons: Take the Shotgun, Skip the Revolver
Note: The Shotgun is the best all-round weapon for almost the entire run. Land headshots and it one-shots most standard enemies, the ammo is cheap, and it clears buildings cleanly.
Here is the weapon priority, from your first stop to the final push:
| Weapon | When to use | Why |
|---|---|---|
| Shovel | Opening minutes only | Free starting melee. Swap to a gun the moment you can afford one. |
| Shotgun | Start through mid-game | One-shots most enemies on headshots, cheap ammo, ideal in towns. |
| Rifle | Late game | Long range for picking off tanky enemies before they reach the train. Keep the Shotgun for close encounters. |
| Revolver | Never | Costs the same as the Shotgun for far less damage. There is no situation where it is the right buy. |
The rule is simple: buy the Shotgun early, add a Rifle once you are well funded and approaching the harder late-game segments, and never touch the Revolver. It costs the same as the Shotgun and does a fraction of the damage.
Two habits to build early. First, always harvest zombie bodies after a fight, because corpses double as train fuel and you will burn through Coal fast. Second, if you own the Tommy Gun gamepass (148 Robux), you spawn with it and a stock of ammo at the start of every run, which is a strong early-game edge before you have earned any cash.
Classes: Spend Your Bonds Here First
Bonds are slow to earn. You might finish a full run with only a few, and it is tempting to blow them on consumables like ammo or bandages. Do not. Classes are the only permanent thing Bonds buy, and even the weakest class beats no class at all. Every class you unlock makes future runs easier, so treat Bonds as a long-term investment.
Here are the classes to target first:
| Class | Cost | What it gives you | Best for |
|---|---|---|---|
| Doctor | 15 Bonds | Spawns with 2 Snake Oils and 2 Bandages, and can revive a downed player at the cost of half their own health. | Co-op survival. One of the cheapest and most valuable picks. |
| Alamo | Varies | Starts with 3 Sheet Metal, 3 Barbed Wire, and a Helmet to fortify the train fast. | Defensive players who value survival over kills. |
| Conductor | Varies | Spawns with 2 Coal and drives the train at a higher top speed. | Speedrunning and saving fuel. Note: no starting melee, so grab one quickly. |
| Vampire | Varies | Moves faster than a horse, hits hard in melee, and its Vampire Knife kills most enemies in about 2 hits or heals you. Takes damage in direct sunlight. | High-skill players. Deadly at night, fragile by day. |
| High Roller | Varies | Earns 1.5x money from money bags. | Income-focused runs. Let the High Roller grab every money bag. |
If you are playing co-op, the Doctor is the best first unlock at 15 Bonds. A single Doctor on the team dramatically extends how long everyone survives. From there, Alamo is the safest pick for pure survival, while Conductor and High Roller reward more experienced crews.
Surviving the Route: Loot, Towns, and Night
Between checkpoints you will pass buildings on both sides of the track. Learning which to stop for is half the game.
- Named buildings are worth it. The Sheriff's Office and Gunsmith almost always hold weapons and ammo, sometimes a sawed-off shotgun, so loot them early. The Doctor and Furniture buildings are reliable stops too.
- Standard houses usually are not. They rarely spawn anything useful and often hide zombies. Skip them unless you specifically need fuel.
Tip: Turning in outlaws pays. Kill an outlaw, carry the body to a Sheriff's Office, and you earn around $35 each. Outlaw camps are worth clearing too, since they drop good weapons and items.
Towns are loot havens crawling with enemies. Only go in with solid weapons, armor, and meds. For a brand-new player, raiding a full town or a fortified location like Fort Constitution is a fast way to end a run. Stick to named buildings until you are geared. If you do clear a town, the prize is the bank vault: it is locked, but the code drops from top-hat-wearing zombies. Crack it for gold bars, silver bars, and high-value loot.
Castles are mini-dungeons packed with waves of tanky enemies. Without a full crew and strong gear they are close to a guaranteed wipe. Skip them early and come back once you have a Rifle, real armor, and full ammo.
The night phase begins at 10:00 PM in-game. Werewolves and vampires join the usual zombies, and it gets ugly fast. The rule is simple: do not head out at night. If you are near a Fort, use it and let its defenses handle the spawns. If night catches you between forts, stay on the train, let the turret work, and barricade the entrances.
Speaking of barricades: use Newspapers early and Sheet Metal later to block the train's doors, ramps, and windows. A detail most new players miss is that you can weld items onto the train, and welded barricades hold far better than items just dropped in place. Finally, if you find a Saddle, you can tame the wild horses out in the desert. They spook and run, so herd them back toward the train before saddling. Horses are less protected than the train but fast and fuel-free, which makes them great for scouting ahead.
Playing as a Team
Dead Rails gets dramatically easier when everyone has a job. In a full lobby, split the work:
- Driver keeps the train moving and manages speed.
- Fueler watches the Coal supply and feeds the engine (zombie corpses count).
- Looters run the named buildings for cash, fuel, and weapons.
- Fighters and the turret gunner hold off enemies, especially on town approaches.
The turret is one of the strongest defensive tools in the game once it is unlocked. Put your most accurate player on it during enemy-heavy segments and let everyone else fuel, loot, and flank. A team that assigns roles and stacks complementary classes (a Doctor healing, an Alamo fortifying, a High Roller banking money) will clear runs that a disorganized group of the same skill never could.
The Final Stretch: Reaching Mexico
Complete the 80 km journey and you face the final boss, Nikola Tesla, for the win, a star rating, and a Bond payout. By the time you reach the end you should have a Rifle, full ammo, strong armor, and a stockpile of medical supplies. Tesla hits hard, so do not walk in short on resources. If your team is low at the last safe zone before the fight, spend time restocking before the final push instead of gambling on the boss.
Even runs that end early are not wasted. Every attempt that reaches 40 km still banks Bonds, and more Bonds means better classes, which makes the next run easier. Dead Rails is a game you improve at across many runs, not one perfect attempt.
Your First-Run Priorities
When you are still learning, keep it to the basics that actually move the needle:
- Sell the Gold Bar, then buy Coal first. A fueled train is a living train.
- Take the Shotgun, skip the Revolver. Add a Rifle only once you are funded.
- Spend Bonds on a class before anything else. Doctor first if you are in co-op.
- Loot named buildings, skip standard houses, and avoid towns and castles until you are geared.
- Stay inside at night. Barricade the train, use forts, and let the turret work.
- In a team, assign roles. A driver, a fueler, looters, and a turret gunner beat four players doing everything at once.
Do those six things and you will already outlast most of the lobbies you drop into. Dead Rails rewards players who respect it: keep the train fueled, spend Bonds wisely, and stay patient. Once the systems click, getting a crew all the way to Mexico is one of the most satisfying wins in Dead Rails.
Related Articles
Jujutsu Shenanigans Tier List: Best Characters Ranked
Every Jujutsu Shenanigans character ranked S to D tier, from Vessel and Perfection at the top to the Early Access roster. Awakenings, domains, and who to main.
Adopt Me Summer Camp 2026: Release Date and What to Expect
Adopt Me Summer Camp is almost here. The Journey to Summer Camp ends June 19, your Compass Coins expire with it, and here is how to prepare for the main event.

Adopt Me Summerfest 2026 Guide: Acorns & New Pets
Everything in Adopt Me Summerfest 2026: how Acorns worked, the fishing, skydiving and water balloon activities, the Karp pets, and the Dagi vs Jesse vote.